

Resumen
This beginner’s guide to underwater photography explains how to capture clear, vibrant images while diving in Koh Tao. It covers essential gear, buoyancy control, lighting, camera settings, composition, marine life photography, common mistakes, post-processing tips, and expert insights to help new divers confidently photograph the underwater world responsibly and effectively.
Underwater photography is the art of capturing marine life, coral reefs, and underwater environments while diving or snorkelling using waterproof cameras or protective housings. For beginners, getting started does not require expensive professional equipment. Instead, success underwater begins with understanding the basics of diving, buoyancy, and camera handling beneath the surface.
Since water affects natural light and quickly removes colours like red and orange, learning how light behaves underwater is essential for creating clear, vibrant images. Composition also plays a major role, helping photographers frame marine subjects naturally and attractively.
With the right knowledge, steady dive skills, and simple beginner-friendly gear, anyone can start exploring and capturing the beauty of the underwater world with confidence and creativity.
Why Underwater Photography Is Harder Than It Looks
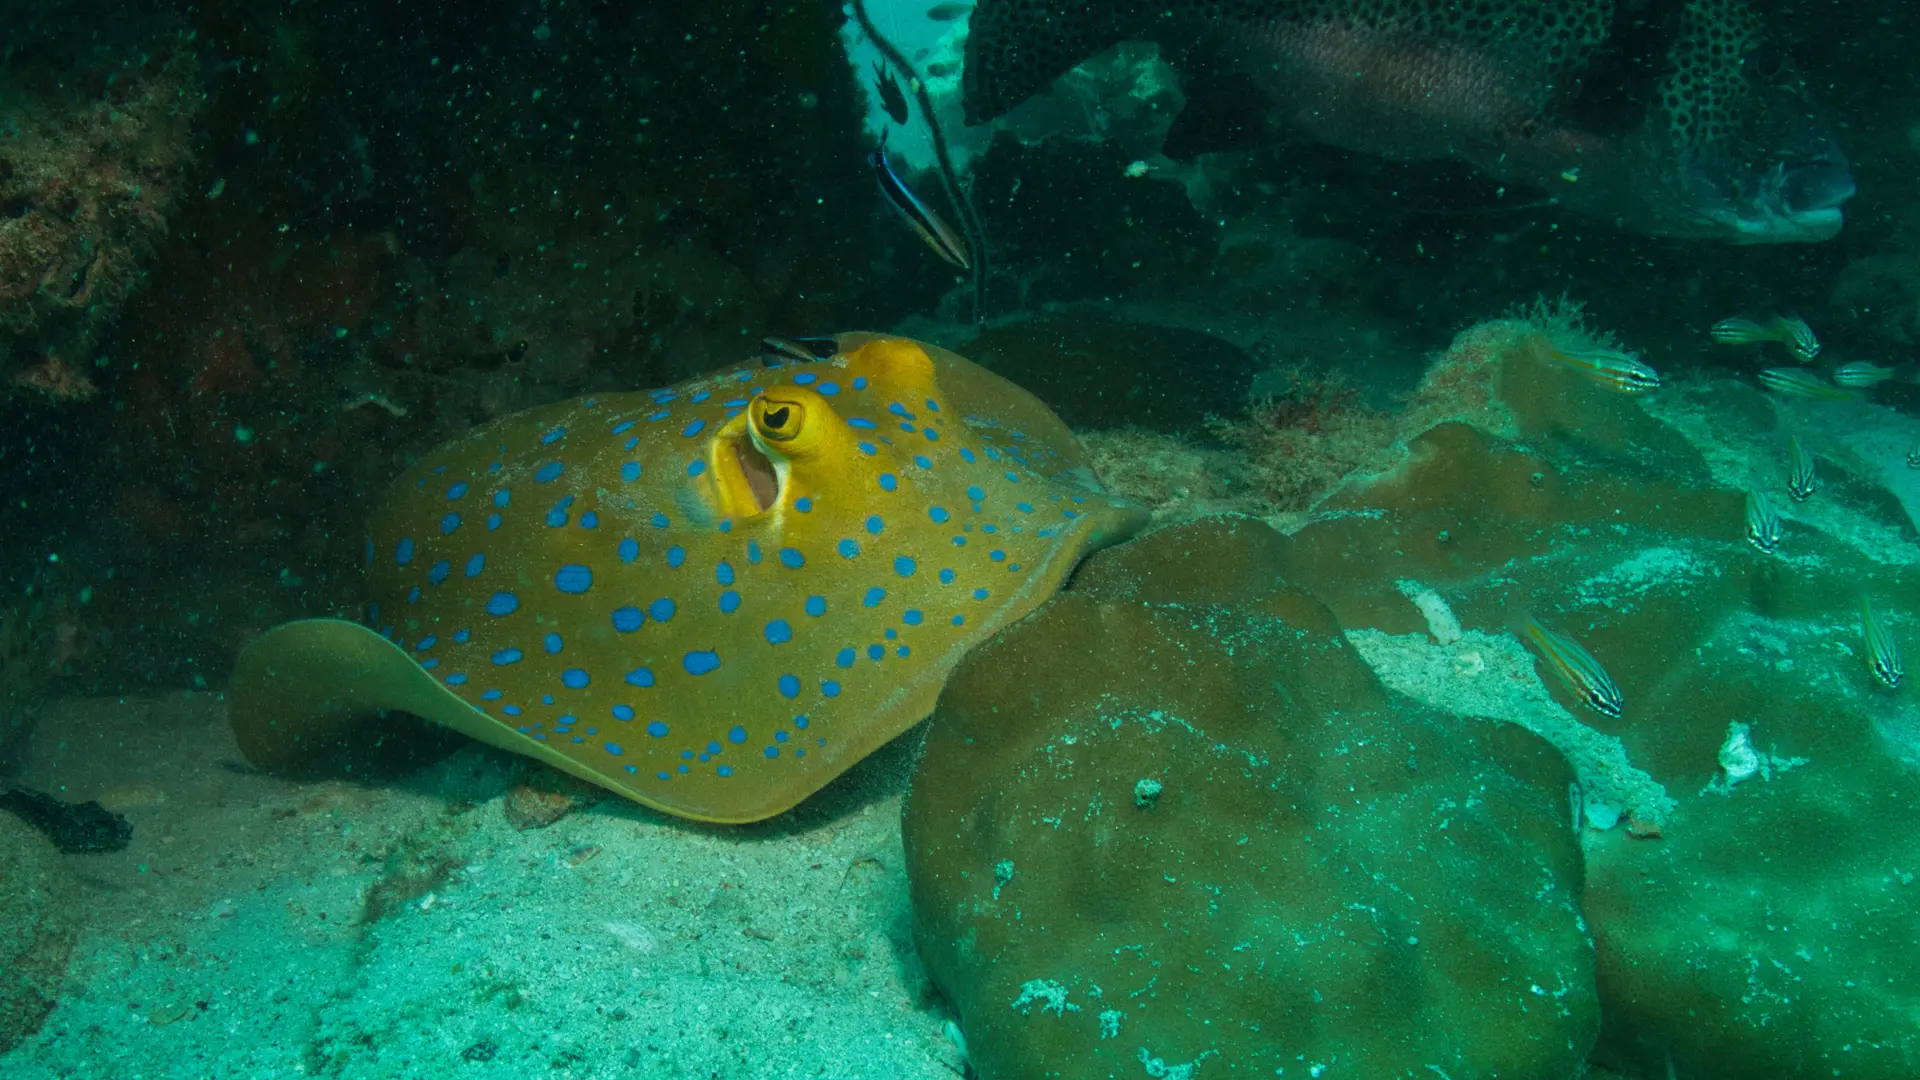
Underwater photography is challenging because water absorbs light and colour rapidly, reduces contrast, and makes camera stability far more difficult than on land.
Most beginners expect to point and shoot the same way they would above water. The results are almost always disappointing. Here is why:
- Red light disappears within the first 5 metres of water
- Orange is gone by 10 metres
- Yellow fades out around 15 to 20 metres
- Everything below 20 metres without artificial light appears blue or green
According to NOAA Fisheries, underwater optics technology plays a major role in marine research because collecting clear visual data underwater is often difficult due to limited light, depth, and environmental conditions.
Add to this the constant movement of water, fast-moving marine life, and the challenge of controlling your breathing and buoyancy while handling a camera, and it becomes clear why underwater photography requires patience and regular practice.
Beginner Insight: The ocean does not reward impatience. Slow down, breathe steadily, and let the scene come to you rather than chasing it. |
What Gears Will You Actually Need As A Beginner
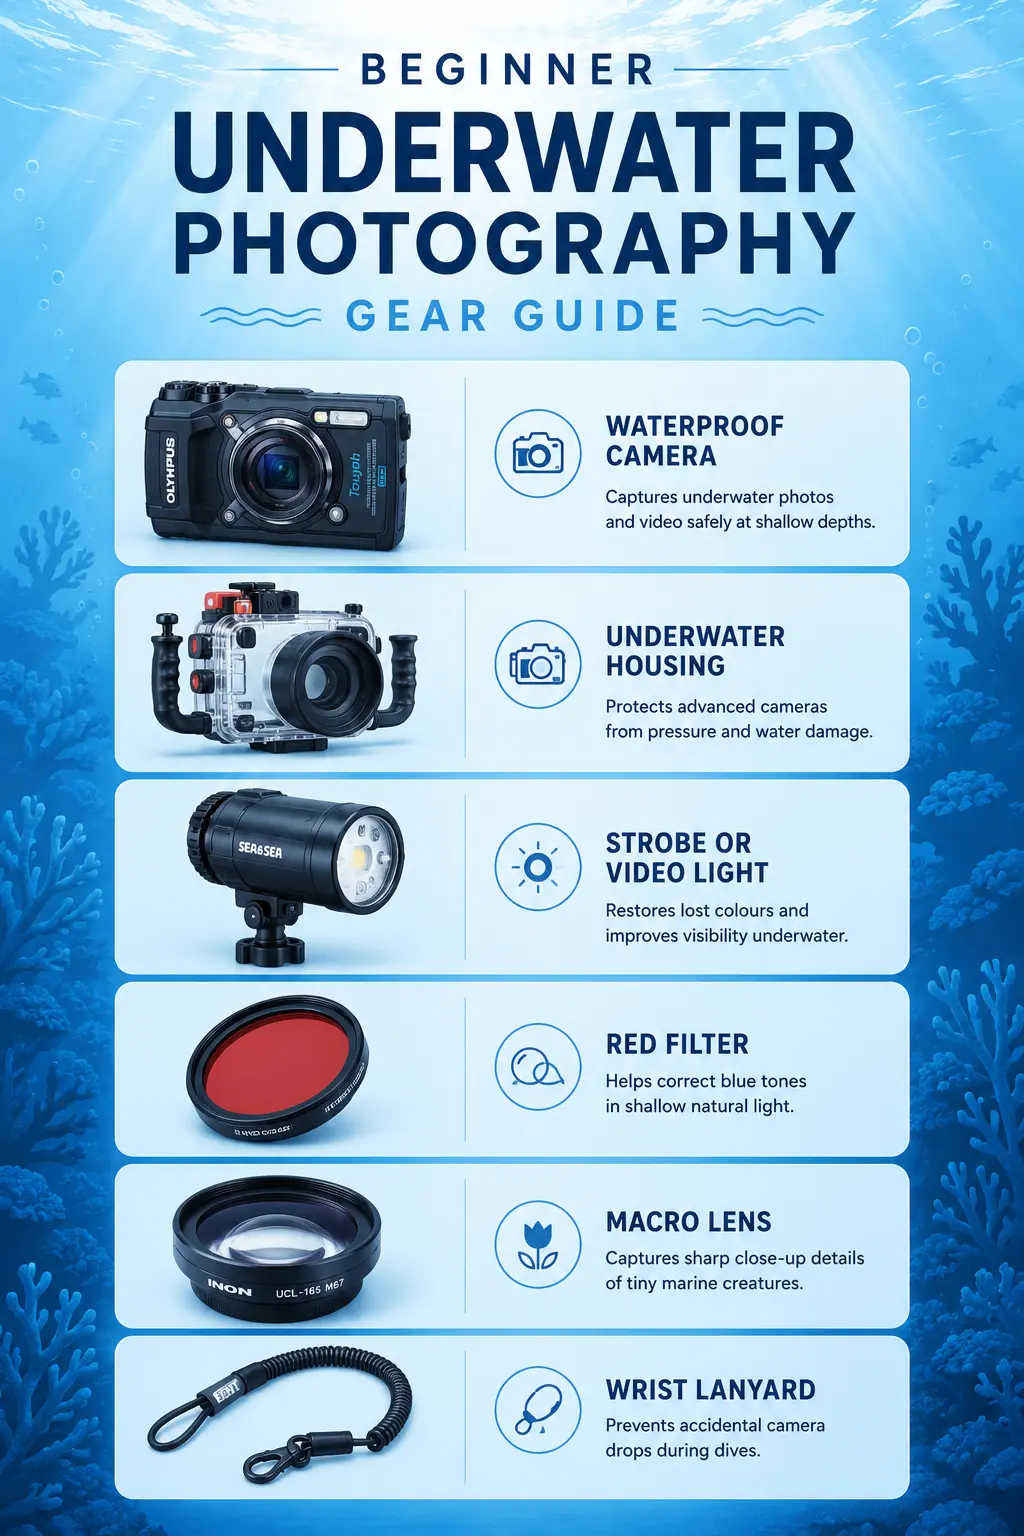
Beginner underwater photographers need a waterproof camera or a housed camera system, a strobe or video light, and a basic understanding of how each piece of equipment behaves underwater.
You do not need to spend thousands. Start simple, build confidence, and upgrade as your skills grow.
Camera Type | Depth Rating | Best For | Budget Level |
Waterproof compact (Olympus TG series, GoPro) | 15 to 20m | Wide shots, reef overviews | Low |
Mirrorless camera in housing | 40m and beyond | Sharp detail, manual control | Mid to High |
DSLR in housing | 40m and beyond | Professional output | High |
Essential Accessories To Consider:
- Strobe or video light: Restores lost colour at depth and eliminates the blue cast
- Red filter: A budget alternative for shallow natural light shooting above 10 metres
- Clip-on macro lens: Essential if you want to photograph small reef creatures like nudibranchs
- Wrist lanyard: Prevents accidental camera drops during the dive
Beginner Tip: A GoPro alone will not capture nudibranch detail or reef texture with any sharpness. If small subjects interest you, add a clip-on macro lens from day one. |
How To Master Buoyancy Before Touching A Camera
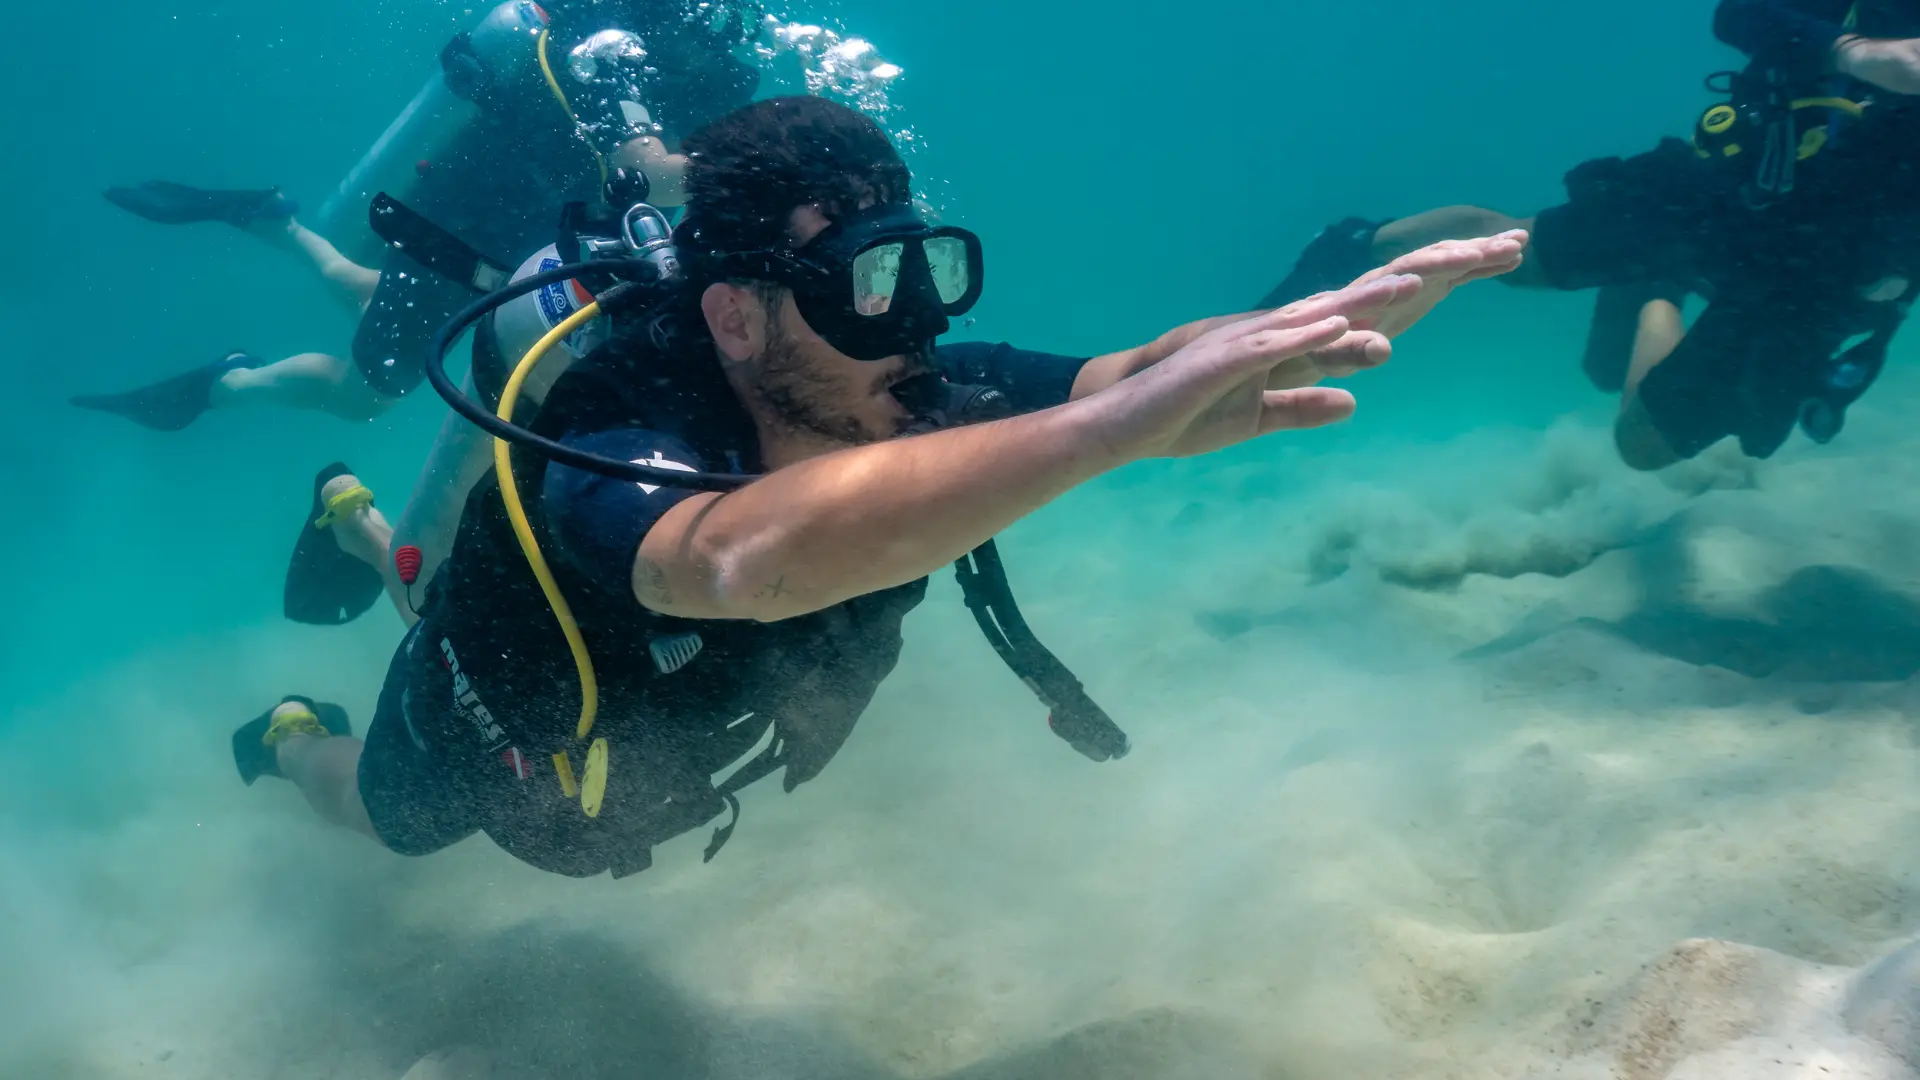
You should achieve confident, controlled buoyancy before introducing a camera underwater. Poor buoyancy is the single biggest cause of blurry images, reef damage, and missed shots.
NOAA y PADI both emphasise buoyancy as the foundation of responsible and effective underwater photography. A camera adds distraction, weight distribution changes, and an extra thing to manage. If your buoyancy is not solid, the camera makes everything worse.
Signs You Are Ready To Add A Camera:
- You can hover completely still at any depth without finning
- You can adjust your position in small increments without touching the reef
- You do not need to think about your breathing to stay level
- You have logged at least 20 to 25 dives with consistent comfort
Building these skills starts with your Open Water certification and is refined through your Advanced Open Water course, which includes a Peak Performance Buoyancy dive specifically designed to sharpen this skill.
Note: Most blurry underwater photos are not a camera problem. They are a buoyancy problem. Fix your buoyancy first, and your photos will improve immediately. |
Understanding Light And Colour Underwater
Underwater light behaves differently from land because water absorbs different wavelengths at different depths, removing warm colours and leaving a dominant blue or green cast in natural light images.
Understanding this is what separates average underwater shots from extraordinary ones.
How Colour Disappears With Depth:
- 0 to 5 metres: Full colour visible in good conditions
- 5 to 10 metres: Red begins to disappear
- 10 to 15 metres: Orange fades significantly
- 15 to 20 metres: Yellow weakens
- Beyond 20 metres: Blue and green dominate without artificial light
How To Correct For This:
- Use a strobe or video light to reintroduce red and orange tones at depth
- Use a red filter for natural light shooting in shallow water above 10 metres
- Set white balance to Auto when using a strobe or flash
- Set white balance to Custom or Underwater mode when shooting natural light only
When Not To Use Flash:
- Near the eyes of sensitive species such as sea turtles or whale sharks
- Inside caves or crevices where light bounces and creates harsh backscatter
- During bioluminescence night dives, where ambient light is the entire point
Tip: NOAA guidance on responsible wildlife photography recommends avoiding flash near sensitive marine species. Always check with your divemaster before using a strobe near any creature they identify as sensitive. |
What Are The Camera Settings For Beginners
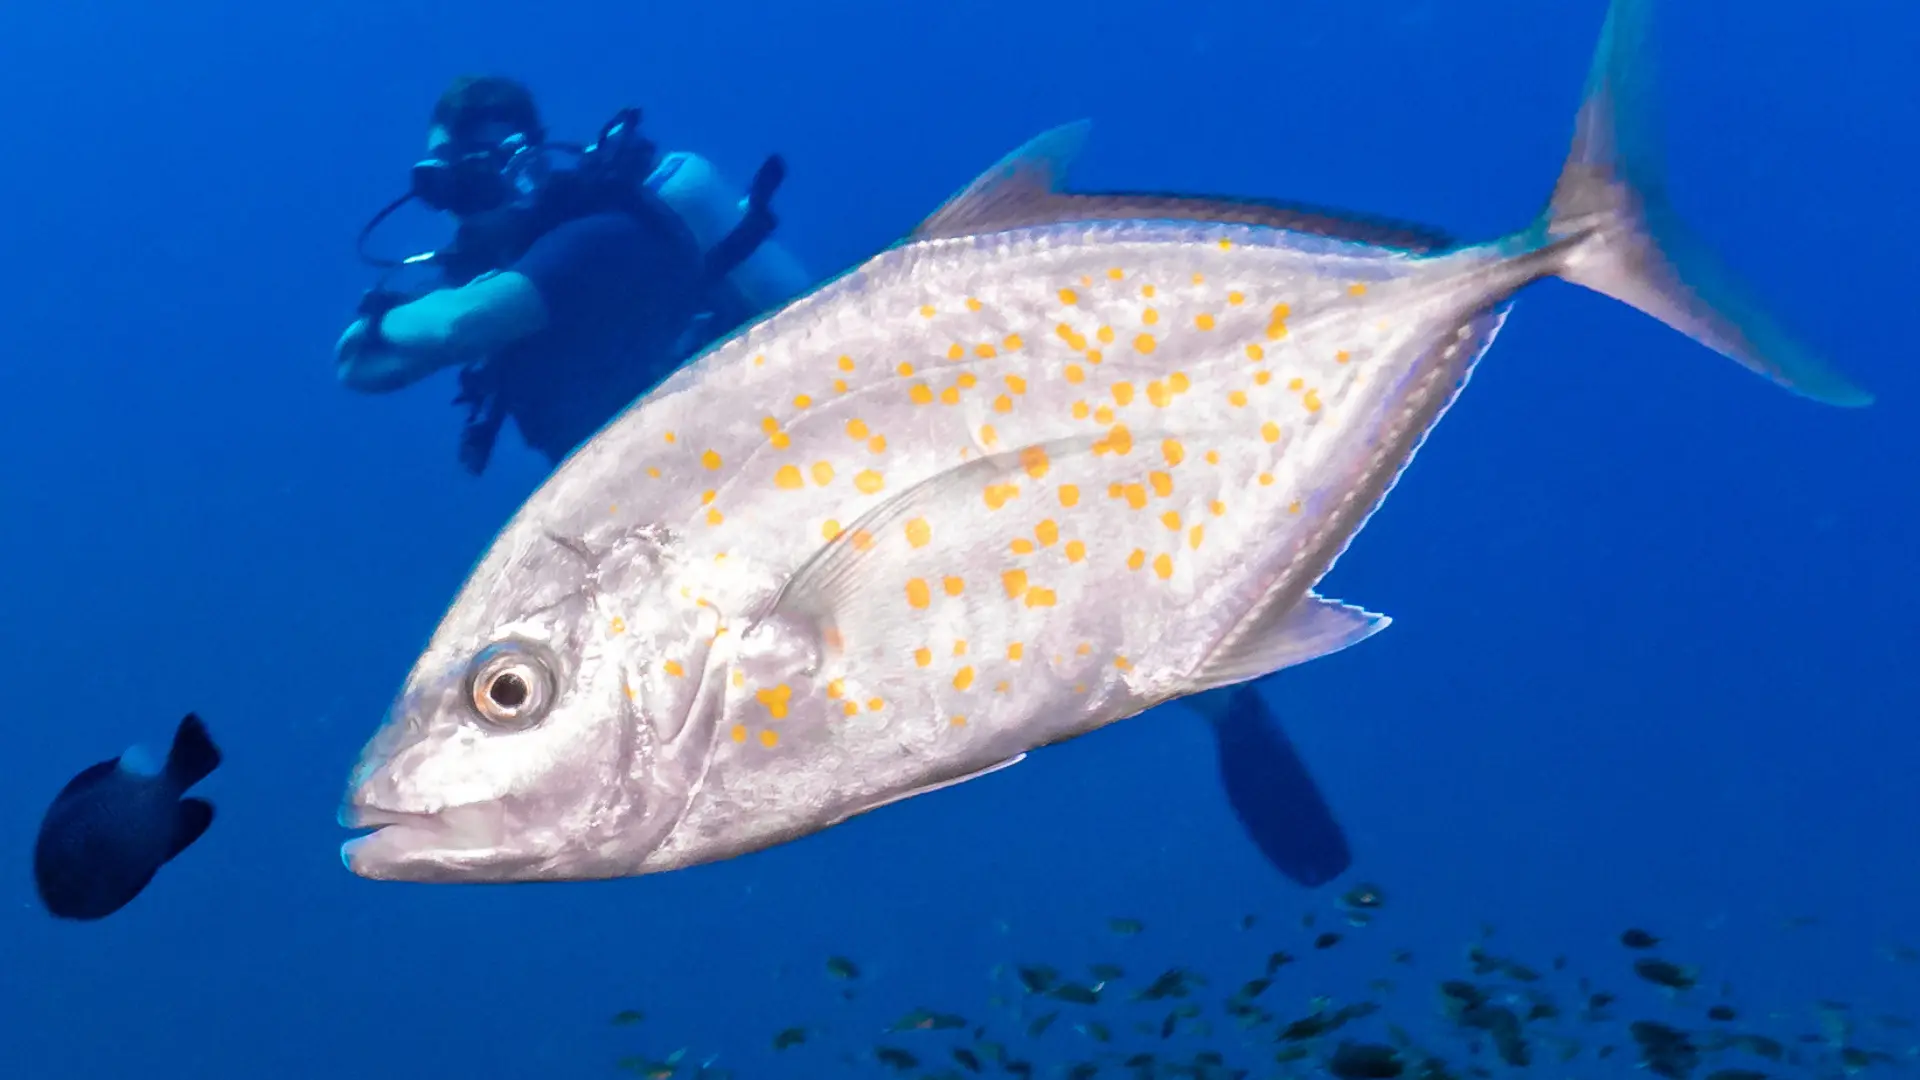
Start with Aperture Priority mode combined with Auto ISO. This gives you control over depth of field while the camera manages exposure automatically, which is ideal when you are still learning to manage buoyancy and composition simultaneously.
Scenario | Aperture | Shutter Speed | ISO |
Macro (nudibranch, coral polyp) | f/8 to f/11 | 1/100 to 1/200 | 100 to 200 |
Wide-angle reef overview | f/5.6 to f/8 | 1/125 | 200 to 400 |
Natural light silhouette | f/8 | 1/250 | 100 |
Low visibility conditions | f/4 to f/5.6 | 1/100 | 400 to 800 |
Key Rules To Remember:
- Set your camera to the highest resolution from the start
- Use the lowest ISO possible to avoid grain in your images
- Never use a shutter speed faster than your camera’s flash sync speed
- In Aperture Priority, set a minimum shutter speed via Auto ISO to avoid motion blur
How Do You Compose a Good Underwater Photo?
Good underwater composition means getting close to your subject, shooting at eye level or upwards, and using the rule of thirds to avoid centred, flat images.
Water reduces colour, contrast, and sharpness with every additional inch between you and your subject. Distance is your biggest enemy.
Quick composition checklist before every shot:
- Am I within 30 centimetres of the subject for macro shots?
- Is the eye of the creature in sharp focus?
- Am I shooting upwards or at eye level rather than downwards?
- Is my buoyancy stable enough to hold the frame steady?
- Have I waited for natural behaviour rather than forcing the shot?
- Does my subject fill at least two-thirds of the frame?
Beginner Insight: Shooting downwards at a subject produces flat, uninspiring images. Get low, position yourself beneath or level with the subject, and shoot upwards to include the open water or reef as a natural background. |
What Will You Actually See Underwater In Koh Tao?
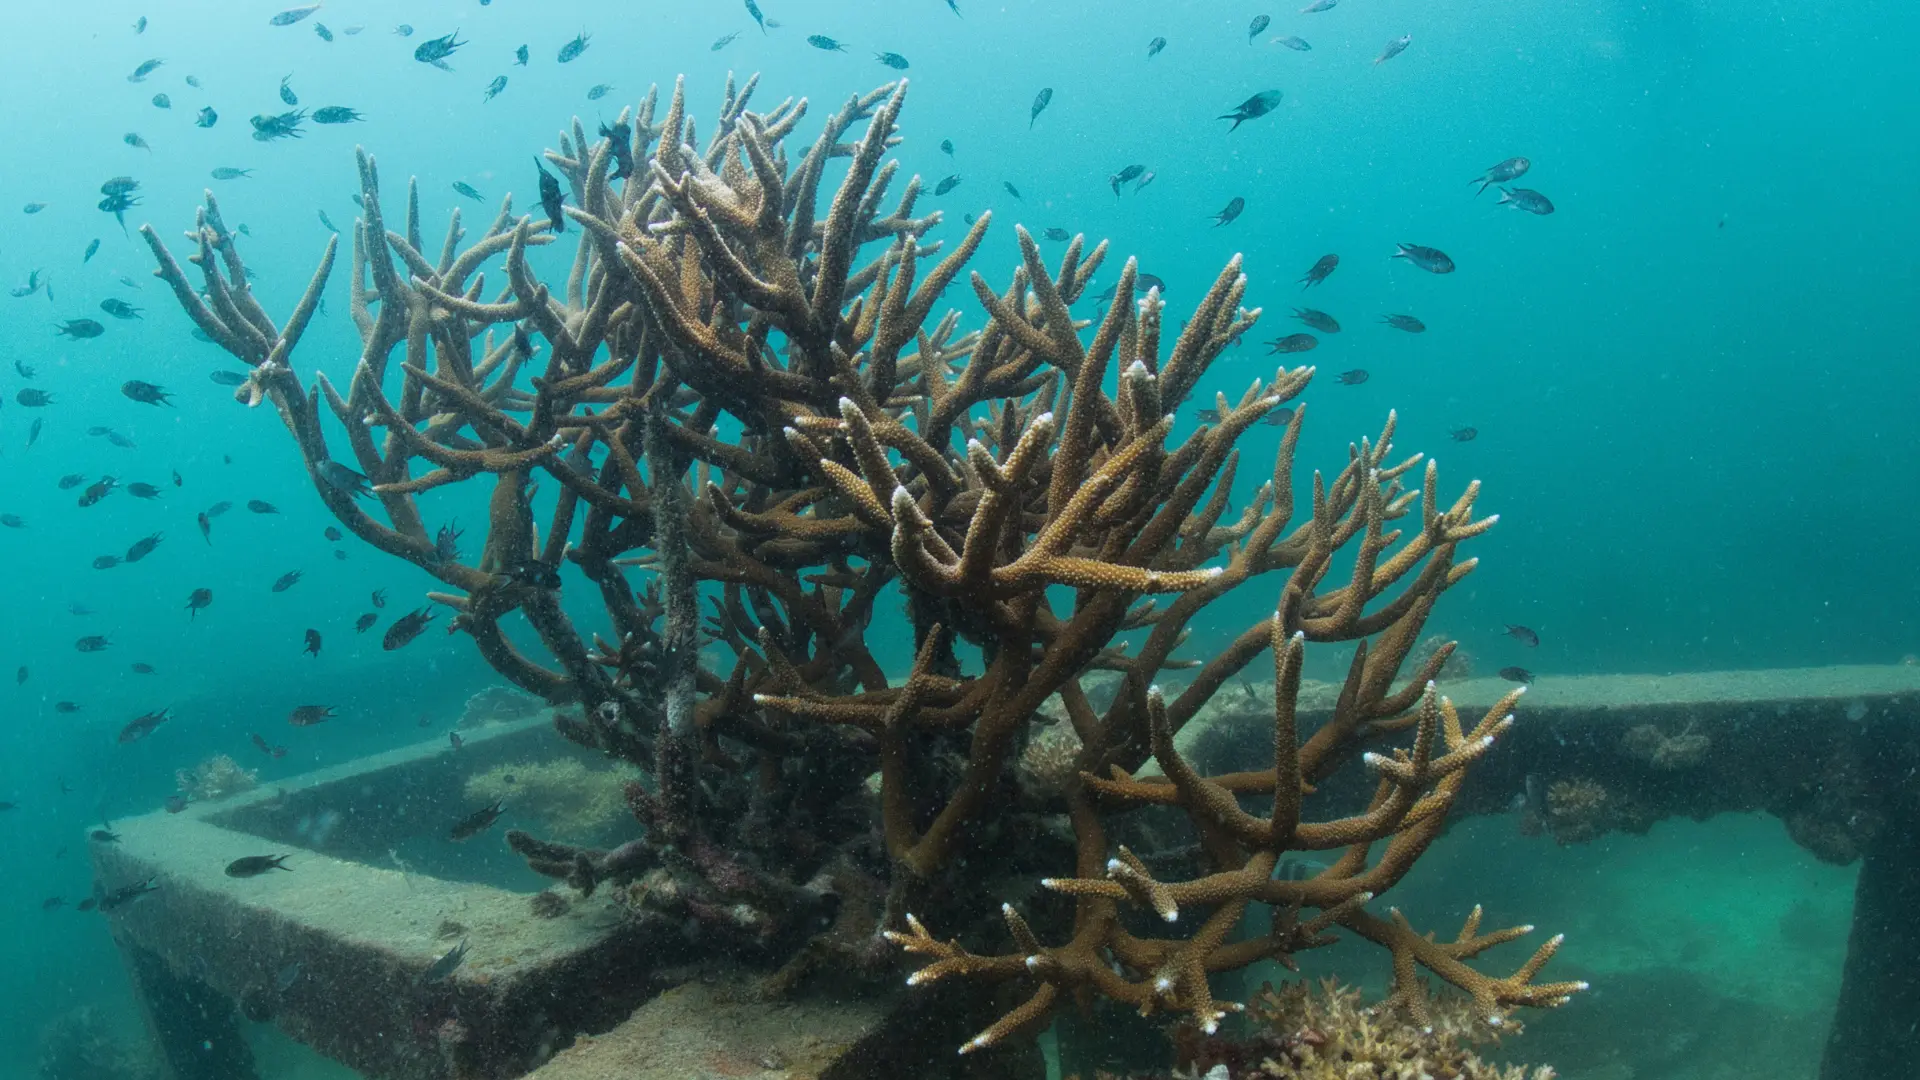
Koh Tao’s waters are home to over 223 species of reef fish, two species of endangered sea turtle, broadclub cuttlefish, whale sharks, blue spotted rays, nudibranchs, and seasonal bioluminescence on night dives.
This is the section every beginner photographer needs before their first dive. Knowing what you will encounter means you can plan your camera settings, lens choice, and shot approach before you even enter the water.
Marine Species | Shot Type | Best Site | When to Find Them | Difficulty |
Nudibranch | Macro | Japanese Gardens | Year-round, species rotate seasonally | Beginner |
Hawksbill Sea Turtle | Wide angle | Isla del Tiburón | Year round | Beginner |
Broadclub Cuttlefish | Macro and behavioural | Gemelos | Mating season: March to May | Beginner |
Blue Spotted Ribbontail Ray | Wide angle | White Rock | Year round | Beginner |
Blacktip Reef Shark | Wide angle | Chumphon Pinnacle | Year round | Intermediate |
Whale Shark | Wide angle | Chumphon Pinnacle and Sail Rock | Sporadic, most common March to May | Intermediate |
Banded Sea Snake | Environmental wide | Multiple reef sites | Year round | Beginner |
Bioluminescence | Ambient night exposure | Any night dive site | Night dives year-round | Beginner |
Explore the full details of what swims around this island in the Koh Tao marine life guide.
What The Best Underwater Photographers In Koh Tao Do Differently
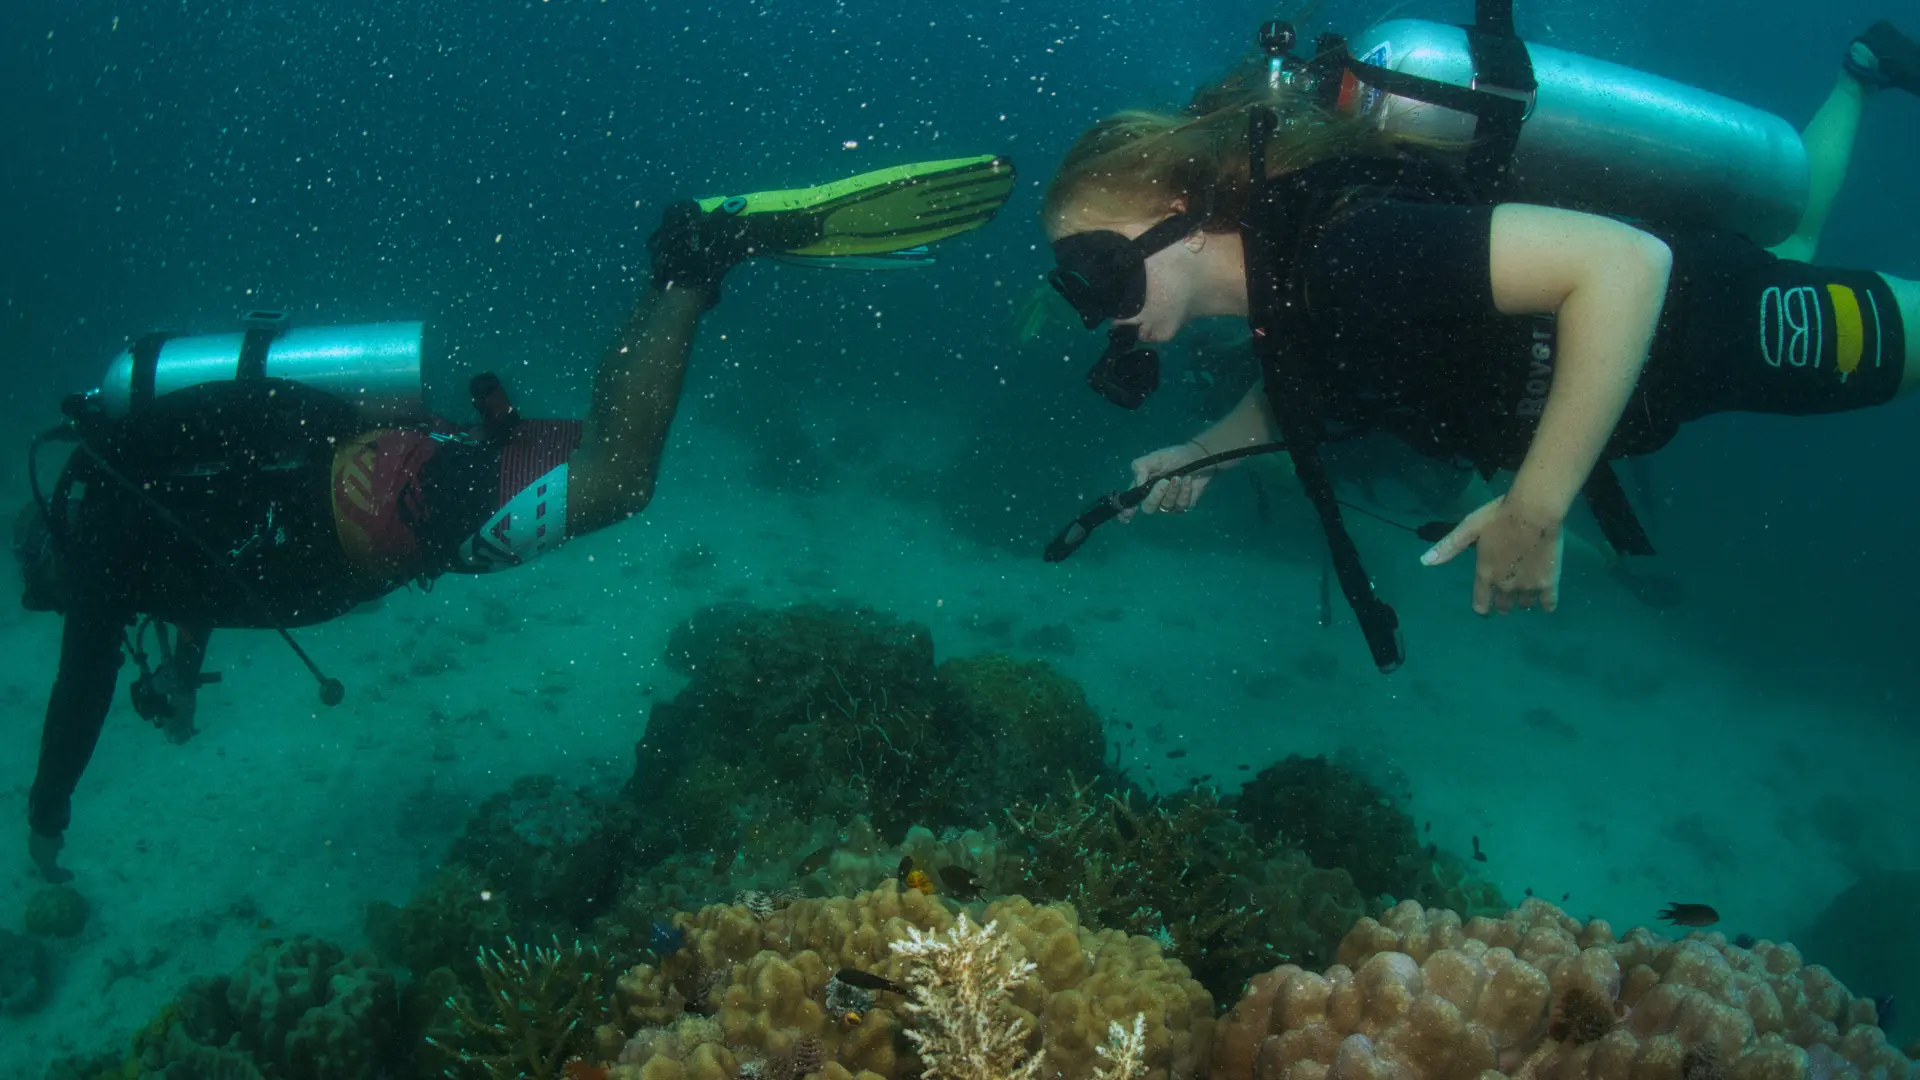
The best underwater photographers on Koh Tao dive early, ask their divemaster specific questions before every dive, manage light deliberately, and spend weeks building diving skills before ever touching a camera.
1. They dive early in the morning
Visibility is usually clearest between 8 am and 11 am before boat traffic disturbs sediment on the seabed. Morning dives often produce noticeably sharper and cleaner images than afternoon dives at the same site.
2. They ask local divemasters before every dive
Experienced divemasters know which nudibranch species are active, where they are hiding, and the best depth to find them. This helps photographers choose the right lens and prepare before entering the water.
3. They avoid flash on bioluminescence dives
Flash photography ruins natural bioluminescence. Skilled photographers use manual mode, long exposures, and steady buoyancy to capture the natural glow created by plankton during night dives.
4. They understand seasonal marine behaviour
Broadclub cuttlefish mating season usually runs from March to May around Koh Tao. Local guides often know the exact coral areas where egg-laying activity happens, giving photographers better opportunities for rare underwater shots.
Common Mistakes and How to Avoid Them
|
How Do You Post Process Underwater Photos?
Post-processing underwater images means correcting the blue or green colour cast, restoring contrast, and applying lens corrections. Adobe Lightroom is the most widely used tool for this.
A quick beginner workflow in Lightroom:
- White balance: Use the dropper tool on a neutral surface in the image to remove the colour cast
- Exposure and contrast: Lift shadows and increase contrast to restore depth
- Clarity and texture: A slight increase brings out reef detail and creature texture
- Lens correction: Apply the housing profile, if available, to reduce distortion and vignetting
- Export: Save as JPEG for sharing, TIFF for archiving
Keep it simple at this stage. Heavy editing cannot rescue a fundamentally poor image. The best post-processing is the one you barely notice.
CONCLUSION
Great underwater photography starts long before you pick up a camera. It starts the moment you decide to learn to dive properly, build your buoyancy, and truly understand the ocean around you. Master the water first, and the photographs will follow naturally, beautifully, and on every single dive.
Ready to Dive Into Your First Underwater Shot?The best underwater photographs are taken by confident, skilled divers. En LB Diving Koh Tao, our experienced instructors have been teaching divers since 2014 in some of Southeast Asia’s most biodiverse waters. Start with an Curso Open Water and build the buoyancy skills that make photography possible. Already certified? Join one of our guided Fun Dives or experience the magic of our Buceo Nocturno and capture bioluminescence for the first time. |
Preguntas frecuentes
 ES
ES  EN
EN